Inserting Images in PowerPoint

Home

Insert

Design

Animations

SlideShow

Review

View

Acrobat

Home
Clipboard
Slides
Font
Paragraph
Drawing
Editing
Insert
Tables
Arrow Pointing to Illustrations Under InsertIllustrations
Links
Text
Media Clips
Design
Page Setup
Themes
Background
Animations
Preview
Animations
Transitions
Slide Show
Start Slide Show
Set Up
Monitors
Review
Proofing
Comments
Protect
View
Presentation Views
Show/Hide
Zoom
Color/Grayscale
Window
Macros
Acrobat
Create Adobe PDF
Create & Email
Review & Comment


Audio Version

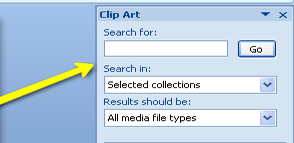
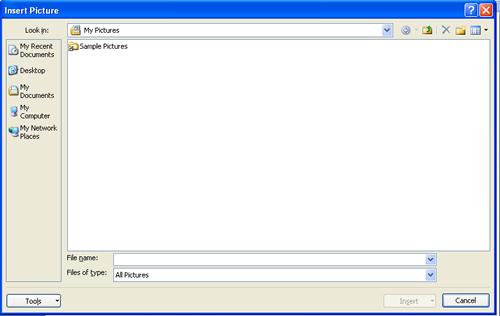
Inserting images in slides takes different steps depending on the image you wish to use. In PowerPoint, you can use MS Office clipart or your own images. For the purpose of this training, we will be using an image off of the clipart library.

1. Click on "Insert"; then "Illustrations". You will then have options to insert clipart,
picture, photo albums, shapes, smart art, and charts.

Tool Bar Showing Arrow Pointing to Illustrations
2. If choosing clipart, you will see this window open on the far right side of your screen. To see the clipart, you will need to type in what type of image you are looking for. This could be nature, animals, people, etc. When you see the image you want, click on it and it will appear on your slide. Clip Art Window With Arrow Pointing to Search For:
3. If choosing picture, you will see this window open. Go to where your picture is located, click on file, and then click insert. Insert Picture Window

Learning Assessment